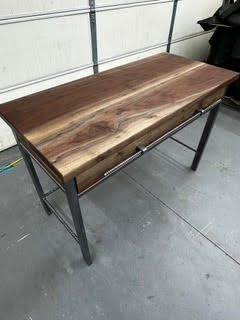
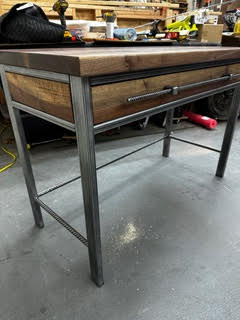
This is a project one of my great customers just ordered for her husband for a Christmas gift. It’s always special to work with previous clients to help them with another piece for their homes. Every time I get the honor of building another piece for someone, it is so rewarding that they have confidence in our relationship. One of my favorite pieces to date.
Here’s some step-by-step photos to see how things come together.
1. Rebar. When it makes sense, I like to use rebar as part of my pieces. I think it is
a metal that adds lots of character to the piece. I also like the fact it normally is
buried in concrete and no one sees it. I think it has an “elegant “ industrial look.

2. All Other Metal. Metal when extruded almost has a “grain” imprinted into the
manufacturing process. I try and take advantage of that when leaving it natural
and not painted to show the texture and grain of the metal. I think it adds depth to
that part of the piece.

3. Wood. Black walnut is one of my favorite woods. This piece is one log section cut
in half then glued together. More about that later.

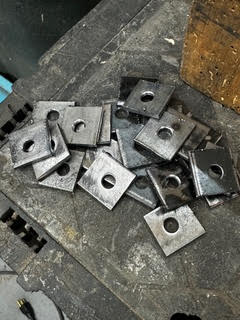
4. Metal Tabs On The Drill Press. Drill before they are cut.

5. Drilling Metal Tabs. Created to attach the wooden side panels and the top of the
desk to the metal frame.
6. Welding The Metal Desk Frame. 1”X2” for the legs, the rest of the frame 1”X1”
tubing.

7. Top Finished and Sealed. I like showing the heart wood and the sap wood.
Sometimes you get some really cool transitions as we did in this piece. Part of
the wood is blue where the tree is pulling minerals from the nutrition it receives
from the ground while growing.

8. Side Panels. I matched the flow on the side panel to the front drawer for
continuity in how the piece flows.

9. Metal Frame and Rebar Supports & Custom Drawer Pull. Creates balance from
the back and sides to the top drawer.

10. Rebar Drawer Pull. Initally was going to do two handles, then one made more
send in the design process.
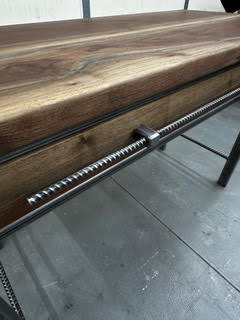
11. Functional Drawer. They take time, Like how it turned out but adds some time to
the piece for sure.
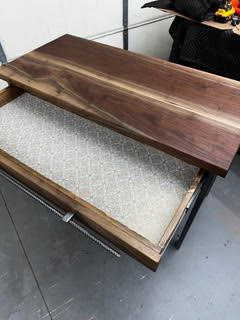
12. Finished Product.

See the final product inside the house!
